Introduction to Self-Hosting with Raspberry Pi and ORB
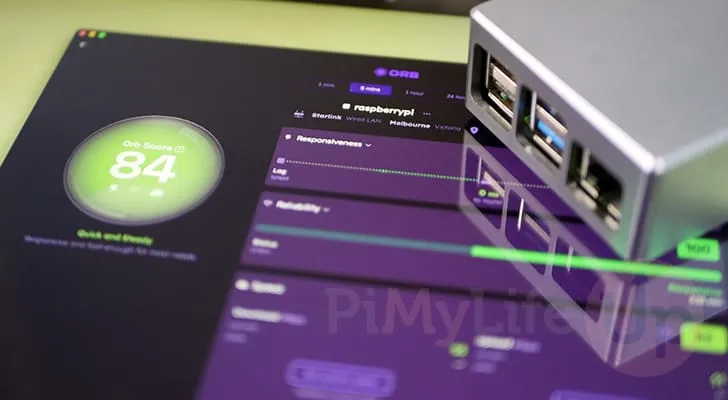
In this article, you’ll learn how to transform your Raspberry Pi into a powerful ORB sensor to monitor your internet connection’s quality. Unlike traditional speed tests, ORB evaluates network reliability and responsiveness, offering a comprehensive overview of your connection performance. Whether you’re a network enthusiast or just looking to enhance your self-hosting skills, this guide will walk you through the steps to set up this innovative monitoring tool at home.
What is ORB and Why Use It?
ORB is a cutting-edge software designed to continuously evaluate various aspects of your internet connection, including speed, responsiveness, and reliability. It creates an “Orb score,” providing a better understanding of your network’s performance beyond mere speed tests. Setting it up on a Raspberry Pi allows you to monitor your entire home network from a low-powered device, making it an efficient choice for self-hosting.
Benefits of Using Raspberry Pi as an ORB Sensor
- Continuous Monitoring: Easily check your network’s speed and reliability without significant power usage.
- Multiple Deployment: Place multiple Raspberry Pis around your home for localized monitoring of Wi-Fi and Ethernet connections.
- Customization: If you prefer a more private approach, set up your own Internet speed monitor using Python or Docker.
Required Equipment for Setup
- Recommended: Raspberry Pi 3 or newer (Raspberry Pi 5 is optimal), Raspberry Pi OS Bookworm Lite (64-bit).
- Optional: Network cable, power supply, and a secondary device for the ORB app.
Setting Up the ORB Sensor on Your Raspberry Pi
Step 1: Install the ORB App
Before configuring your Raspberry Pi, install the ORB application on a separate device. The app is compatible with Windows, macOS, Android, and iOS. Create an account for easy tracking of your sensor’s data, which can then be accessed remotely.
Step 2: Prepare Your Raspberry Pi
Open the terminal on your Raspberry Pi and run the following commands to update your package list:
sudo apt update
sudo apt upgrade
Next, install the ‘curl’ package using:
sudo apt install curl
Step 3: Add the ORB Sensor Repository
To ensure you receive the latest versions of ORB, add the official package repository. Begin by saving the GPG key:
curl -fsSL https://orb.repository.gpg | sudo gpg --dearmor -o /usr/share/keyrings/orb.gpg
After this, add the ORB repository to your Raspberry Pi:
echo "deb [signed-by=/usr/share/keyrings/orb.gpg] https://orb.repository/raspbian stable main" | sudo tee /etc/apt/sources.list.d/orb.list
Step 4: Install the ORB Sensor
Update the package list again and install the ORB sensor:
sudo apt update
sudo apt install orb-sensor
Your sensor will automatically start monitoring your network once installed.
Step 5: Link Your ORB Sensor
To link the ORB sensor to your account, return to the ORB app on your other device. You should see a notification indicating the sensor isn’t linked. Click on “Link to my account” to finish the setup.
Maximizing Your Network Insights with ORB
Once your ORB sensor is set up and linked, you can check real-time data about your network’s performance, including reliability and responsiveness metrics. If you want even more detailed insights, consider deploying multiple Raspberry Pis throughout your home to monitor different areas, such as Wi-Fi coverage in various rooms.
Conclusion
By following this guide, you now have a powerful, self-hosted network monitoring solution at your fingertips. ORB provides a comprehensive evaluation of your internet connection’s performance, going beyond traditional speed tests. For those interested in self hosting, setting up an ORB sensor on your Raspberry Pi not only enhances your network insight but also empowers you to control and optimize your home network effectively.
FAQs
Question 1: Can I use ORB with older Raspberry Pi models?
No, ORB requires a Raspberry Pi 3 or newer and does not support older versions.
Question 2: Is there a web interface for monitoring ORB data?
Currently, ORB primarily relies on its mobile and desktop apps for data viewing, lacking a dedicated web interface.
Question 3: What if I don’t want my data processed by a third party?
You can create your own internet speed monitor using Python or Docker on your Raspberry Pi for complete control over your data.
This content is structured to be engaging for tech-savvy readers interested in self-hosting while incorporating relevant keywords like “self-hosting,” “internet monitoring,” and “Raspberry Pi.” The flow is clear, and the necessary technical steps are included for ease of understanding.
Read the original article


