How to Install a Self-Hosted Tunneled Reverse Proxy with Pangolin
Are you interested in self-hosting your own tunneled reverse proxy? This comprehensive guide walks you through the installation of Pangolin, a self-hosted solution that lets you manage your own proxy server with complete control. Using WireGuard technology, Pangolin enhances your online privacy and circumvents firewall restrictions without the need to expose ports. Discover how to set it up on a DigitalOcean VPS and learn additional ways to connect devices like a Raspberry Pi securely.
Table of Contents
- FAQs
- Setting Up Pangolin
- Accessing Your Pangolin Dashboard
- Creating Sites and Resources
- Updating Pangolin
- Connecting Devices with Newt
- Conclusion
Frequently Asked Questions (FAQ)
- Question 1: What are the benefits of using a self-hosted tunneled reverse proxy?
- Answer 1: Self-hosting allows for greater control over your data and configurations, ensuring your privacy. It eliminates reliance on third-party services.
- Question 2: Can I use Pangolin on different operating systems?
- Answer 2: Yes, Pangolin officially supports various Linux distributions, including Ubuntu, Debian, Fedora, and more.
- Question 3: How secure is the connection with Pangolin?
- Answer 3: Pangolin uses WireGuard for tunneling, which is known for its high security and simplicity. It’s a reliable option for safeguarding your traffic.
Setting Up Pangolin on Your Linux System
Pangolin offers a simple way to establish your own tunneled reverse proxy. Follow these steps to get started:
Prerequisites
- A DigitalOcean VPS or another Linux-based server.
- A domain name with DNS management capabilities.
- Basic knowledge of Linux commands.
Preparing Your Server
- Ensure your package list is current. Run:
sudo apt update && sudo apt upgrade - Install necessary tools:
sudo apt install wget curl jq - Create a directory for Pangolin:
mkdir /opt/pangolin - Change into the directory:
cd /opt/pangolin
Installing Pangolin
Download and run the Pangolin installer:
- Fetch the latest version number:
- Download the installer:
- Make it executable:
- Run the installer:
latest_version=$(curl -s https://api.github.com/repos/yourusername/pangolin/releases/latest | jq -r .tag_name)
wget https://github.com/yourusername/pangolin/releases/download/$latest_version/pangolin_installer
chmod +x pangolin_installer
./pangolin_installer
Configuration Options
During installation, set your base domain, admin user details, and email for SSL certificate notification. Opt for centralized authentication to safeguard your exposed services.
Accessing Your Pangolin Dashboard
Once installed, access the dashboard using the domain name you specified. Log in with the admin credentials you set up during installation.
Creating Sites and Resources
You will need to create an “Organization” and a “Site” in your dashboard. Here’s how:
- Navigate to the “Create Site” section.
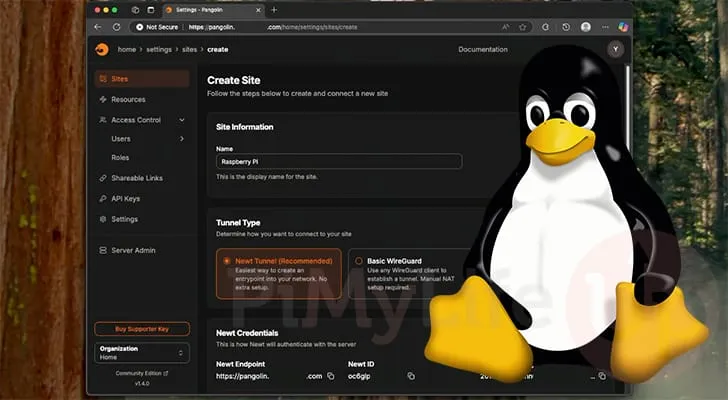
- Fill in the site name and the tunnel type, preferably using Newt.
- Copy the necessary configuration details, including Newt Endpoint, ID, and Secret Key.
Updating Pangolin
Keeping Pangolin updated is crucial for security and performance. To do so, leverage the built-in version check commands. Always back up your configurations before updating.
Connecting Devices with Newt
Pangolin comes with a client called Newt, which establishes a secure connection from your devices to the proxy:
- Install Newt using Docker or natively, depending on your preference.
- Set up the Newt configuration file with the Endpoint, ID, and Secret Key.
- Start the service, ensuring that it maintains connectivity with the Pangolin instance.
Conclusion
Setting up a self-hosted tunneled reverse proxy with Pangolin gives you unparalleled control and enhances your security. Unlike proprietary solutions, you own your stack, maintaining your privacy while still enjoying seamless connectivity. Explore the versatile applications of this setup, especially with devices like Raspberry Pi, and expand your self-hosting portfolio.


