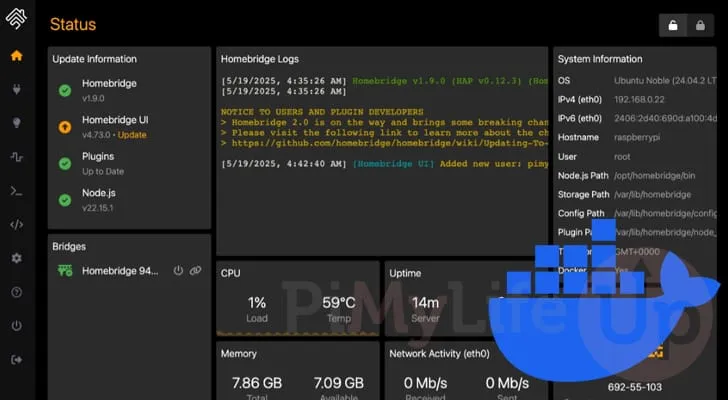
How to Self-Host Homebridge Using Docker: A Step-by-Step Guide
Discover how to easily set up and run Homebridge with Docker. This comprehensive guide walks you through integrating your non-supported smart home devices with Apple HomeKit. Whether you’re a tech enthusiast or a DIYer, learn how Docker simplifies managing Homebridge, allowing you to access your smart devices effortlessly. Read on for detailed steps and tips aimed at ensuring a smooth installation!
What is Homebridge?
Homebridge is an innovative software solution that bridges the gap between various smart home devices and Apple’s HomeKit. With numerous plugins available, you can extend its capabilities and add support for popular devices like UniFi Protect, Ring, and Nest cameras. It serves as a great alternative to Home Assistant’s HomeKit bridge, making it easier to use on your Apple devices.
Why Use Docker for Homebridge?
Using Docker to self-host Homebridge offers a seamless method of installation and management. Docker ensures that you’re always running the latest version with simple commands, freeing you from the complexities of setting up Node Package Manager (NPM). Furthermore, Docker is compatible with x64 devices, as well as ARM32 and ARM64 systems, making it an excellent choice for running Homebridge on devices like Raspberry Pi.
Preparing Your Device for Homebridge
Step 1: Install Docker
Before diving into the setup, you need to install Docker on your Linux machine. We recommend checking out our comprehensive guide on installing Docker to ensure you’re using the latest version, which includes essential functionalities like Docker Compose.
Step 2: Create a Directory
Create a directory for your Homebridge Docker Compose file. Open your terminal and execute the following command:
mkdir -p /opt/stacks/homebridgeStep 3: Navigate to Your Directory
Change to the newly created directory by using:
cd /opt/stacks/homebridgeWriting the Docker Compose File
Step 4: Open a Text Editor
Now that you’re in the correct directory, use a text editor to create your Docker Compose file. For simplicity, we recommend using Nano:
nano docker-compose.ymlStep 5: Define the Homebridge Configuration
Input the following lines to set up the Homebridge container:
version: '3.7'
services:
  homebridge:
    image: homebridge/homebridge
    restart: always
    network_mode: host
    volumes:
      - ./data:/homebridge
Don’t forget to save and exit the editor by pressing CTRL + X, Y, and then ENTER.
Starting Homebridge
Step 6: Launch the Docker Container
You can now start your Homebridge container with a single command:
docker-compose up -dUsing the -d flag runs the container in the background. If issues arise, run the command without the flag to diagnose any errors.
Accessing the Homebridge Web Interface
Step 7: Get Your Device’s IP Address
If you’re unsure of your machine’s IP address, use the hostname command in the terminal. Once you have the IP, navigate to the following URL in your web browser:
http://YOUR_IP_ADDRESS:8581First Launch of Homebridge
Step 8: Complete Initial Setup
Upon accessing the Homebridge web interface, you will need to create an account. Click GET STARTED, fill in your username and password, and click Create Account.
Step 9: Open the Dashboard
Congratulations! You can now click on Open Dashboard to start integrating your smart home devices into Apple HomeKit. Your pairing code will be displayed on the screen, essential for connecting Homebridge with HomeKit.
Conclusion
By following this guide, you should have Homebridge effectively running on your device via Docker. This setup enables seamless integration of your smart home devices, even those without official Apple Home support. Docker simplifies management and updates, making the installation process straightforward and efficient.
Tip: If you’re exploring self-hosting options, consider using platforms like Home Assistant alongside Homebridge for even greater smart home control.
FAQ
Question 1: Can I run Homebridge on Windows or Mac using Docker?
No, currently, Docker for Homebridge is not compatible with Windows and Mac due to various issues.
Question 2: What are the hardware requirements for running Homebridge?
Homebridge can run on x64 and ARM (32-bit and 64-bit) devices, making options like Raspberry Pi suitable for your setup.
Question 3: How do I troubleshoot Homebridge if it doesn’t start?
Remove the -d option when starting the container to see any error messages that can help diagnose the issue.


