Introduction
Discover the power of self-hosting by installing Proxmox Virtual Environment (VE) on your machine. This comprehensive guide will walk you through the entire installation process, allowing you to manage virtual machines and containers effortlessly. If you’re eager to enhance your tech skills and dive into the world of virtualization, read on to unlock the potential of Proxmox VE!
FAQ
What is Proxmox VE?: Proxmox Virtual Environment is an open-source platform designed for virtualization management, allowing users to set up and control both virtual machines and containers.
Can I use Proxmox on a Raspberry Pi?: No, Proxmox VE does not support ARM systems like the Raspberry Pi. However, there are unofficial ports available if you’re interested in experimenting.
What benefits does Proxmox offer as a self-hosting solution?: Proxmox provides powerful features, including easy VM management, a web-based interface, and efficient backup capabilities, making it a top choice for self-hosting enthusiasts.
Installing and Setting Up Proxmox VE
Follow these essential steps to install Proxmox VE on your machine:
Prerequisites for Installation
- A machine with at least 1GB of RAM; more is recommended for running multiple VMs.
- CPU and motherboard support for Intel VT or AMD-V technologies.
- A minimum of one hard drive; larger drives allow for more space for VMs.
- An Ethernet connection, as Proxmox does not function well over Wi-Fi.
- A USB drive with at least 4GB of space for the Proxmox installer.
Downloading the Required Software
- Download balenaEtcher, a reliable tool for creating your installation USB.
- Get the Proxmox VE ISO installer from the official Proxmox website.
Creating the Installation USB
- Open balenaEtcher and select “Flash from File” to choose the Proxmox ISO.
- Select your USB drive as the target, ensuring it is correct to avoid data loss.
- Click “Flash!” to begin the process. Once completed, plug the USB into the target machine.
Running the Proxmox Installer
- Boot your machine from the USB drive. You may need to adjust BIOS settings for this.
- Select “Install Proxmox VE (Graphical)” to proceed with an easy-to-follow graphical installation.
- If using an NVIDIA GPU, add the “nomodeset” option to prevent driver issues.
Configuring Proxmox VE
- Read and agree to the EULA.
- Select the hard drive where Proxmox will be installed.
- Configure your location, time zone, and set up the admin password and email address for notifications.
- Verify network settings and let the installer proceed.
Accessing the Web Interface
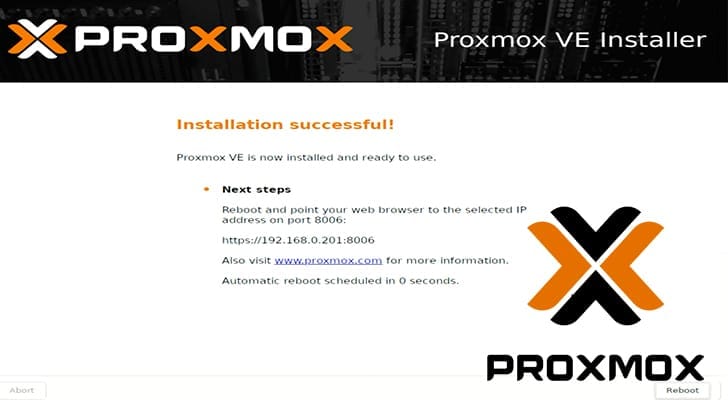
- Post-installation, note the web interface URL and port displayed.
- Access the Proxmox web interface using the browser and log in with the root account.
Enhancing Your Installation
To maximize your Proxmox experience, consider running a post-install script to streamline your setup. This script removes unnecessary entitlements and ensures you’re using the latest resources. Follow the community’s guidelines for optimal results.
Conclusion
You now have Proxmox VE up and running, unlocking a world of virtualization possibilities. This platform not only simplifies managing your VMs but also enhances your self-hosting capabilities. If you enjoyed this guide or have questions, feel free to explore more of our Proxmox tutorials or delve into additional Linux resources.


