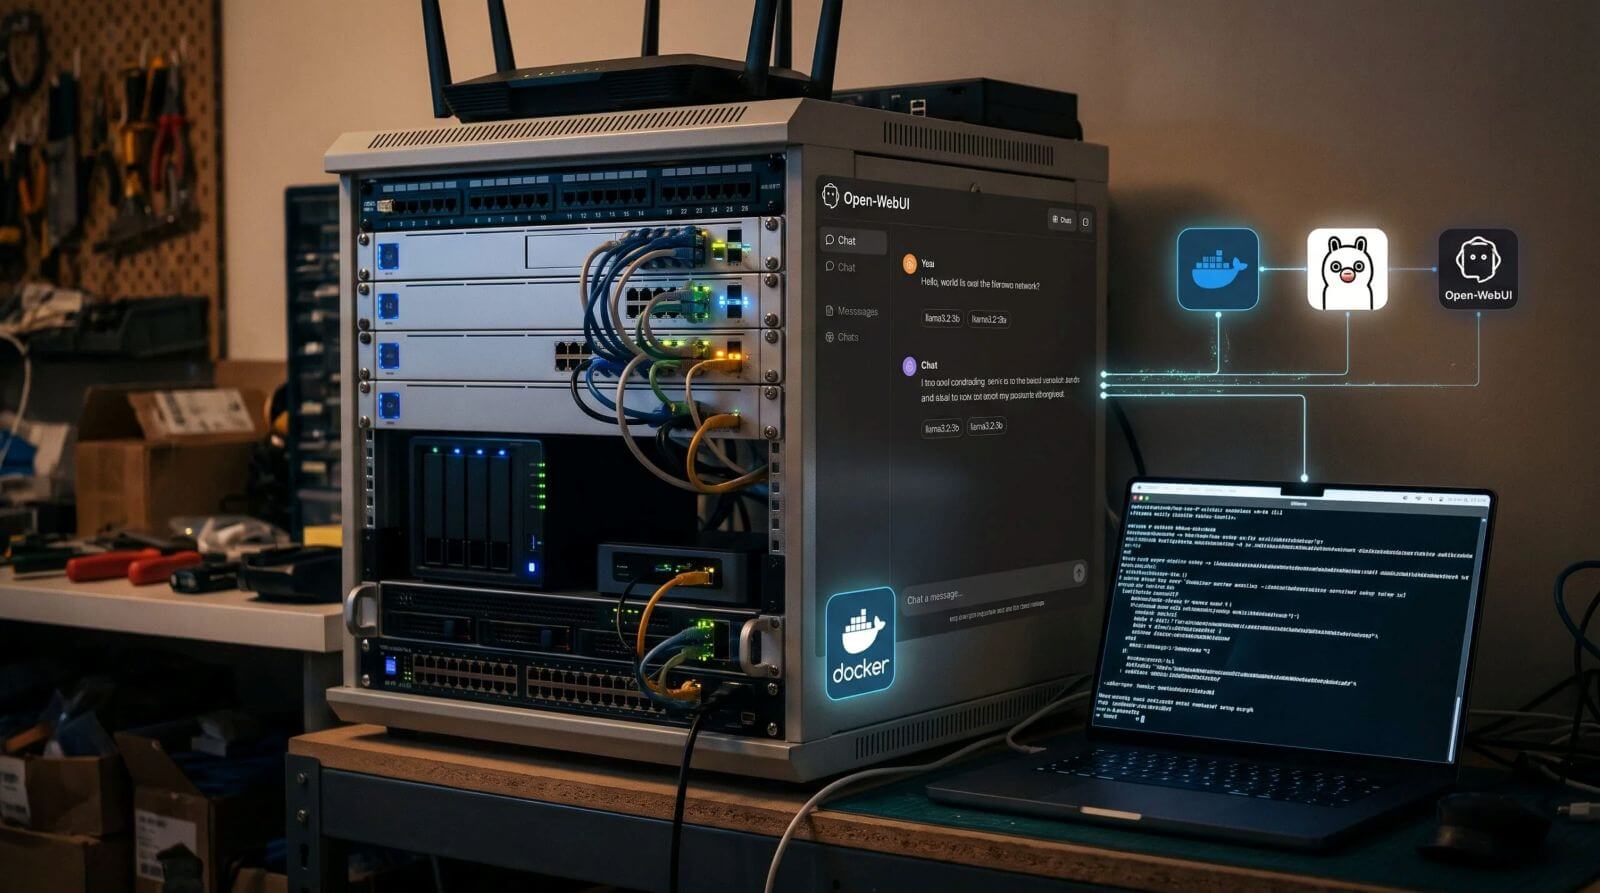







Running a local Large Language Model with Ollama and Open-WebUI gives you a great sparring partner for writing scripts, drafting text, or debugging configuration files. However, in day-to-day homelab operations, any isolated LLM quickly hits an invisible wall: it sits like a brilliant consultant behind bulletproof glass. It can explain how a Home Assistant YAML automation works in theory or how to track down a hanging Docker container—but it cannot inspect your system logs itself or flip the switch.
That is the exact gap the Model Context Protocol (MCP) closes. Think of this open standard as a universal USB-C port for AI systems: instead of building custom API wrappers for every single service, an MCP server exposes your tools, system states, and data sources in a standardized format.
What does this mean in practice for your home network? Your AI stops guessing in the dark. Instead, it queries your live Home Assistant entities, inspects the execution traces of a broken automation, checks available disk space on your server SSDs, and reads the last 50 lines of a container log on demand. Best of all, every single packet stays inside your local network.
Key Takeaways (TL;DR)
- What is MCP? An open protocol that lets AI clients (such as Open-WebUI, Claude Desktop, or CLI agents) interact safely and deterministically with local infrastructure.
- Connecting Home Assistant: While the official core integration primarily exposes the voice assistant pipeline (Assist), the community project HA-MCP delivers 87 specialized tools for automations, dashboards, execution traces, and system maintenance.
- Custom Linux & Docker Tools: With fewer than 60 lines of Python and
FastMCP, you can build a strictly read-only diagnostic server for Docker containers and Linux host metrics.- Open-WebUI Integration: Using the lightweight
mcpoproxy container, you can translate any MCP server into clean OpenAPI endpoints for your local web interface.
Official Home Assistant MCP vs. HA-MCP: Which One Should You Run?
Before jumping into the configuration, it helps to understand the two different ways you can turn Home Assistant into an MCP server:
| Feature | Official MCP Integration (mcp_server) | Community Project HA-MCP (homeassistant-ai/ha-mcp) |
| Installation | Built into Core (Settings → System → AI) | Via the built-in Marketplace (HA 2026.11+) or HACS |
| Scope & Capabilities | Focuses on Assist device control plus basic state and history queries | 87 tools across 6 categories (including automations, scripts, Lovelace dashboards & backups) |
| Troubleshooting | Reads entity states and system logs | Inspects full Automation Execution Traces and proposes targeted fixes |
| Safety Controls | Controlled via exposed Assist entities | Dedicated sidebar panel with Read-Only Mode, per-tool toggles, and automatic rollback backups |
| Best Use Case | Everyday voice and device control | Deep system administration, building complex automations, and debugging |
Practical Recommendation: Never enable both MCP servers for the same AI client at the same time—duplicate tool definitions confuse local models and waste context tokens. If you only want to toggle lights or check room temperatures, the official core integration is plenty. However, if you want to ask: “My hallway motion automation didn’t fire at 6:30 AM—check the execution trace and fix the condition,” HA-MCP is in a league of its own.
Step 1: Equipping Home Assistant with HA-MCP
Starting with version 9.0, HA-MCP runs directly as a native custom integration inside Home Assistant—regardless of whether you run Home Assistant OS, Supervised, or a standalone Docker container.
1. Create a Dedicated Service Account (Security Best Practice)
Because an MCP server receives deep administrative access, you should never bind it to your personal main user account. Creating a dedicated local user ensures that every AI-triggered action is clearly attributable in your Home Assistant Logbook:
- Navigate to Settings → People → Add Person in Home Assistant.
- Name the account
hamcpand enable Allow person to log in. - Enable Local access only (so this account can never authenticate from outside your home network) and grant Administrator privileges.
2. Install HA-MCP via the Marketplace
If you are running Home Assistant 2026.11 or newer, you can install the integration directly through the built-in Marketplace (or via HACS on older releases):
- Open Settings → Marketplace (or HACS), search for HA-MCP, and select HA-MCP — Manage Home Assistant with AI.
- Click Download / Install and restart Home Assistant.
- After the restart, go to Settings → Devices & Services → Add Integration, search for HA-MCP, and select HA-MCP Server.
- Enter the credentials of your newly created
hamcpuser (the integration automatically generates a locally scoped token in the background). - Select Network access: Local network so your Docker server can reach the endpoint, then click Submit.
Click the Configure (gear) icon on the new integration entry to copy your local connection URL, which follows the pattern http://<YOUR-HA-IP>:9584/private_<SECRET-PATH>.
Tip for Your First Test Run: You will now see an HA-MCP panel in your left Home Assistant sidebar. Open it and enable Read-Only Mode while testing, or selectively disable sensitive tool groups (such as system updates or add-on management) with a single click.
Step 2: Building a Custom Linux & Docker MCP Server in Python (FastMCP)
With Home Assistant covered, what about your actual Linux servers? Many tutorials online simply hook up a generic Bash MCP server that lets the LLM run arbitrary shell commands. In a production homelab, that is an unnecessary security hazard: one hallucinated flag on rm or docker system prune -a is all it takes to ruin your weekend.
How do we solve this cleanly? Using the official Python SDK (FastMCP), we can write a strictly read-only diagnostic MCP server in under 60 lines of code. The LLM is only allowed to call the exact three functions we explicitly expose:
- Check System Health (CPU load averages, RAM usage, root disk space)
- List Docker Containers (status, image version, uptime, and health checks)
- Read Container Logs (strictly capped at the last $N$ lines for debugging)
The Script: homelab_mcp.py
Create a new directory on your Docker host (mkdir -p ~/mcp-stack/linux-mcp) and save the following script as homelab_mcp.py:
Python
import subprocess
import shutil
import os
from mcp.server.fastmcp import FastMCP

# Initialize the MCP server
mcp = FastMCP("Homelab-Linux-Monitor")

@mcp.tool()
def get_system_health() -> str:
    """Reads CPU load averages, RAM usage, and available disk space on the Linux host."""
    load1, load5, load15 = os.getloadavg()
    total, used, free = shutil.disk_usage("/")

    mem_info = subprocess.check_output(["free", "-h"], text=True)

    return (
        f"CPU Load (1/5/15 min): {load1:.2f}, {load5:.2f}, {load15:.2f}\n"
        f"Root Disk: {used // (2**30)} GB used of {total // (2**30)} GB "
        f"({free // (2**30)} GB free)\n\n"
        f"Memory Overview:\n{mem_info}"
    )

@mcp.tool()
def list_docker_containers() -> str:
    """Lists all running and stopped Docker containers along with their current status."""
    cmd = [
        "docker", "ps", "-a",
        "--format", "table {{.Names}}\t{{.Status}}\t{{.Image}}\t{{.RunningFor}}"
    ]
    return subprocess.check_output(cmd, text=True, timeout=10)

@mcp.tool()
def get_container_logs(container_name: str, tail_lines: int = 50) -> str:
    """Fetches the most recent log lines of a specific Docker container for troubleshooting."""
    # Security sanitization: only allow alphanumeric characters, hyphens, and underscores
    clean_name = "".join(c for c in container_name if c.isalnum() or c in ("-", "_"))
    safe_lines = min(max(10, tail_lines), 200)

    try:
        logs = subprocess.check_output(
            ["docker", "logs", "--tail", str(safe_lines), clean_name],
            stderr=subprocess.STDOUT,
            text=True,
            timeout=10
        )
        return logs if logs.strip() else f"No recent log output found for {clean_name}."
    except subprocess.CalledProcessError as e:
        return f"Error fetching logs for '{clean_name}': {e.output}"

if __name__ == "__main__":
    mcp.run(transport="stdio")
Because subprocess.check_output is invoked as a list without shell=True and container names are strictly sanitized, the model has zero opportunity for shell injection or destructive actions.
Step 3: Bridging MCP to Open-WebUI and Ollama (mcpo)
If you use Open-WebUI as your central chat interface in front of Ollama, there is one architectural detail to keep in mind: Open-WebUI natively consumes external tool servers as OpenAPI (REST) endpoints, whereas most MCP servers communicate via stdio or streamable HTTP/SSE.
Instead of hacking together custom wrappers, the Open-WebUI team maintains mcpo (MCP-to-OpenAPI Proxy)—a lightweight bridge container that takes your MCP servers and automatically exposes them as documented OpenAPI endpoints with built-in Swagger UI.
1. Create the config.json for mcpo
Save the following configuration file under ~/mcp-stack/config.json:
JSON
{
  "mcpServers": {
    "linux-monitor": {
      "command": "python3",
      "args": ["/app/linux-mcp/homelab_mcp.py"]
    }
  }
}
2. The Complete Docker Compose Stack
Here is the clean docker-compose.yml (which you can also deploy directly as a stack in Portainer) connecting Open-WebUI and the mcpo proxy:
YAML
services:
  mcpo:
    image: ghcr.io/open-webui/mcpo:main
    container_name: mcp-openapi-proxy
    restart: unless-stopped
    # Expose only to localhost or keep strictly within the internal Docker network
    ports:
      - "127.0.0.1:8000:8000"
    volumes:
      - ./config.json:/data/config.json:ro
      - ./linux-mcp:/app/linux-mcp:ro
      # Read-only access to the Docker socket for container status & log inspection
      - /var/run/docker.sock:/var/run/docker.sock:ro
    command: ["mcpo", "--config", "/data/config.json", "--host", "0.0.0.0", "--port", "8000"]

  open-webui:
    image: ghcr.io/open-webui/open-webui:main
    container_name: open-webui
    restart: unless-stopped
    ports:
      - "3000:8080"
    environment:
      - OLLAMA_BASE_URL=http://host.docker.internal:11434
      - WEBUI_AUTH=true
      - SCARF_NO_ANALYTICS=true
      - DO_NOT_TRACK=true
    volumes:
      - open_webui_data:/app/backend/data
    depends_on:
      - mcpo

volumes:
  open_webui_data:
Spin up the stack from your terminal:
Bash
docker compose up -d
3. Enable the Tools in Open-WebUI
- Open Open-WebUI in your browser and navigate to Admin Panel → Settings → Tools.
- Add
http://mcpo:8000/linux-monitorunder OpenAPI Servers. - In any new chat window, click the Plus (+) icon → Tools below the prompt bar and toggle your server on.
Practical Tip on Model Selection for Tool Calling: Not every compact LLM handles structured function calling reliably. When running locally via Ollama, stick to models trained specifically for tool use—such as qwen2.5:7b, qwen2.5-coder:14b, or llama3.1:8b. On CPU-only hosts with 16 GB of RAM, llama3.2:3b handles single-step tool calls well, while qwen2.5:7b is noticeably more accurate when chaining multiple Home Assistant parameters.
3 Real-World Workflows That Immediately Save Time
Once Home Assistant (via HA-MCP) and your Linux monitor are connected, maintaining your infrastructure feels completely different. Here are three practical examples:
1. Debugging Broken Automations Using Real Execution Traces
Instead of clicking through nested JSON step trees in the Home Assistant UI, simply ask in your chat:
“My hallway lighting automation didn’t trigger at 06:30 this morning. Pull the last 3 execution traces for that automation, check which condition blocked it, and suggest the corrected trigger.”
The AI fetches the trace via HA-MCP, spots that your illuminance sensor reported 12 lx while your threshold was set to < 10 lx, and offers to update the threshold directly—while HA-MCP automatically creates a backup snapshot before modifying the automation.
2. Instant Container Diagnostics Without SSH
When a web service suddenly feels sluggish, you can combine host metrics and container log inspection in a single prompt:
“Check the current CPU load and free RAM on the server, and show me if any warnings or errors appeared in the last 50 log lines of
paperless-webserverorvaultwarden.”
Within seconds, you get a clean summary alongside the exact stack trace or database connection warning—without opening a terminal session.
3. Building Lovelace Dashboards and Scenes on Demand
Just paired a new weather station or a batch of Zigbee sensors?
“Find all entities belonging to my weather station and create a clean dashboard view on my test dashboard showing outdoor temperature, wind speed, humidity, and rain status.”
HA-MCP searches your entity registry via fuzzy matching (so you never have to memorize exact sensor.xyz_123 IDs) and builds the Lovelace card layout automatically.
Security Checklist: 4 Golden Rules for MCP in Your Home Network
An MCP server is essentially a digital sysadmin with a master key. To keep your infrastructure locked down, follow these four rules:
- Enforce Least Privilege: Always mount
/var/run/docker.sockwith the:ro(read-only) flag for diagnostic containers, and restrict custom Python tools to predefined, sanitized arguments. - Never Expose MCP Ports to the Internet: Do not forward port
9584(HA-MCP) or port8000(mcpo) on your router. When accessing your local AI and MCP tools from the road, route your traffic through your WireGuard VPN. - Keep Human-in-the-Loop Confirmation Active: For any tool that modifies state (creating automations, restarting services, toggling switches), keep tool-call confirmation enabled in your client until you trust how your chosen model formats parameters.
- Use Built-In Rollback Hooks: Keep HA-MCP’s automatic pre-change backup enabled so you can revert any AI-edited automation or dashboard with a single click.
Frequently Asked Questions (FAQ)
Does the Model Context Protocol work 100% offline with local LLMs?
Yes. When you connect your MCP servers via mcpo or a local client to Open-WebUI and Ollama, all communication between the language model, the MCP server, and your home services stays strictly inside your local LAN.
What is the difference between the official Home Assistant MCP integration and HA-MCP?
The official Home Assistant integration exposes devices permitted for the Assist voice pipeline so an AI can toggle states or read basic values. The community project HA-MCP provides 87 administrative tools that allow the AI to create and edit automations, inspect execution traces, manage helpers, and build Lovelace dashboards.
Can I run HA-MCP if I run Home Assistant in a standalone Docker container (without the Add-on Store)?
Yes. Starting with version 9.0, HA-MCP installs as a standard custom integration via the built-in Marketplace (HA 2026.11+) or HACS and runs the MCP server process directly inside Home Assistant—no separate OS add-on container required.
Conclusion
All in all, the Model Context Protocol turns local AI from an isolated chat window into a genuine sysadmin tool for your homelab. Once your model has controlled, read-only access to logs, metrics, and execution traces via HA-MCP and FastMCP, troubleshooting and building automations becomes dramatically faster—without handing a single byte of data over to external clouds.