

Even on Linux, you’ll be able to get pleasure from gaming and work together with fellow avid gamers by way of Steam. As a Linux gamer, Steam is a helpful sport distribution platform that means that you can set up completely different video games, together with bought ones. Furthermore, with Steam, you’ll be able to join with different video games and play multiplayer titles.Steam is a cross-platform sport distribution platform that provides video games the choice of buying and putting in video games on any system by a Steam account. This submit provides completely different choices for putting in Steam on Ubuntu 24.04.
Completely different Strategies of Putting in Steam on Ubuntu 24.04
Irrespective of the Ubuntu model that you just use, there are three simple methods of putting in Steam. For our information, we’re engaged on Ubuntu 24.04, and we’ve detailed the steps to comply with for every methodology. Have a look!
Technique 1: Set up Steam by way of Ubuntu Repository
In your Ubuntu, Steam may be put in by the multiverse repository by following the steps under.
Step 1: Add the Multiverse Repository
The multiverse repository isn’t added on Ubuntu by default however executing the next command will add it.
$ sudo add–apt–multiverse

Step 2: Refresh the Bundle Index
After including the brand new repository, we should refresh the bundle index earlier than we will set up Steam.

Step 3: Set up Steam
Lastly, set up Steam from the repository by operating the APT command under.

Technique 2: Set up Steam as a Snap
Steam is on the market as a snap bundle and you may set up it by accessing the Ubuntu 24.04 App Middle or by putting in by way of command-line.
To put in it by way of GUI, use the under steps.
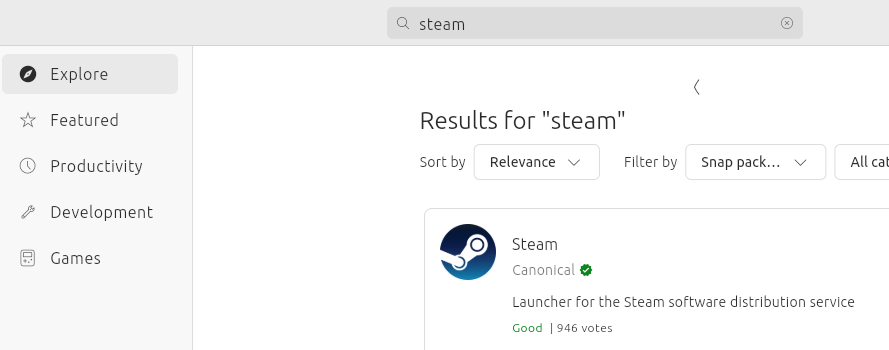
Step 1: Seek for Steam on App Middle
In your Ubuntu, open the App Middle and seek for “Steam” within the search field. Completely different outcomes will open and the primary one is what we need to set up.
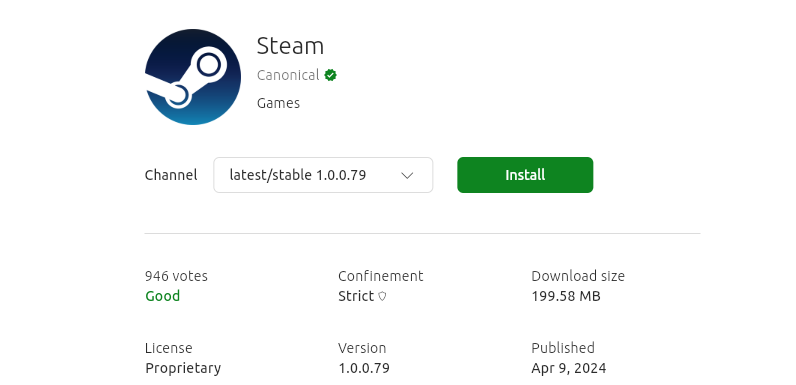
Step 2: Set up Steam
On the search outcomes web page, click on on Steam to open a window exhibiting a abstract of its data. Find the inexperienced Set up button and click on on it.
You’ll get prompted to enter your password earlier than the set up can start.
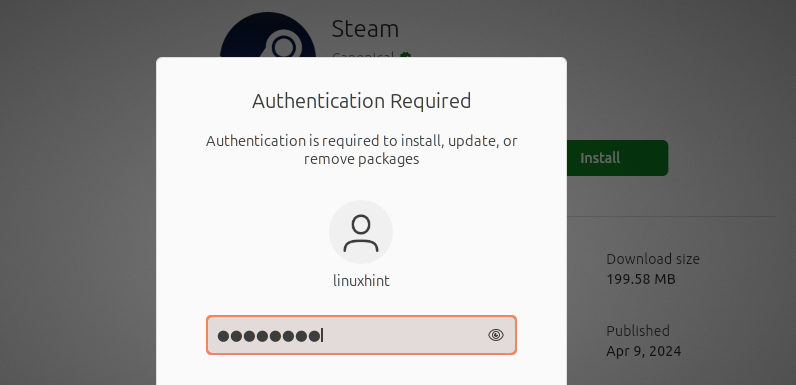
When you accomplish that, a window exhibiting the progress bar of the set up course of will seem. As soon as the method completes, you’ll have Steam put in and prepared to be used in your Ubuntu 24.04.
Alternatively, when you choose utilizing the command-line possibility to put in Steam from App Middle, you are able to do so utilizing the snap command. Specify the bundle when operating your command as proven under.
$ sudo snap set up steam

On the output, the obtain and set up progress will likely be proven and as soon as it completes, Steam will likely be obtainable out of your functions. You’ll be able to open it and set it up on your gaming.
Technique 3: Obtain and Set up the Steam Bundle
Steam releases a .deb bundle for Linux and by downloading it, you should utilize it to put in Steam. Not like the earlier strategies, this methodology requires downloading the Steam bundle from its web site utilizing command line utilities corresponding to wget or curl.
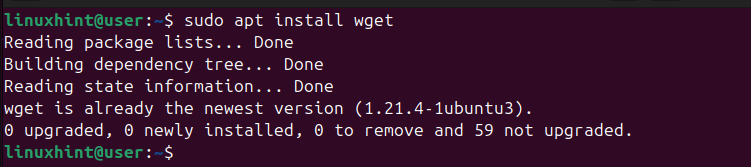
Step 1: Set up wget
To obtain the Steam .deb bundle, we are going to use wget. You’ll be able to skip this step if you have already got it put in. In any other case, execute the under command.
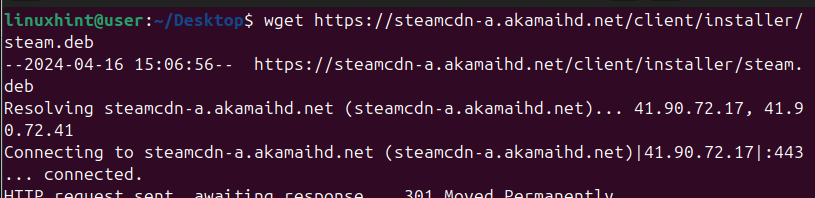
Step 2: Obtain the Steam Bundle
With wget put in, run the next command to obtain the Steam .deb bundle.
$ wget https://steamcdn-a.akamaihd.web/shopper/installer/steam.deb
Step 3: Set up Steam
To put in the .deb bundle, we are going to use the dpkg command under.
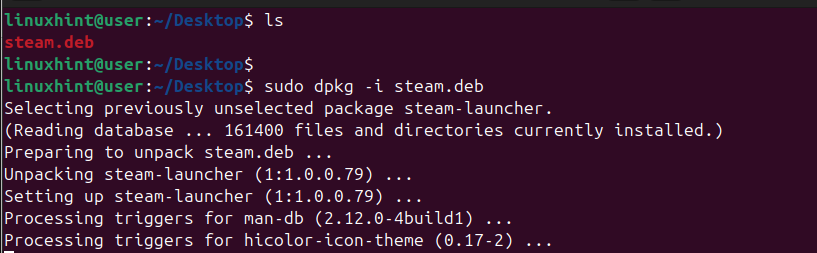
As soon as Steam completes putting in, confirm that you may entry it by looking for it in your Ubuntu 24.04.

With that, you now have Steam put in on Ubuntu.
Conclusion
Steam is helpful software for any gamer and its cross-platform nature means you’ll be able to set up it on Ubuntu 24.04. we’ve given three set up strategies you should utilize relying in your choice. When you’ve put in Steam, configure it and create your account to begin using it. Glad gaming!